> ## Documentation Index
> Fetch the complete documentation index at: https://sequence-0fb8d9e6-codex-update-discord-invite.mintlify.site/llms.txt
> Use this file to discover all available pages before exploring further.
# Getting Started with Builder
> Learn how to sign up for Sequence Builder and create your first project in just a few minutes.
Signing up and creating a project is easy to do with Sequence Builder and should take you less than a few minutes. In this tutorial, we will help you sign up for Builder and then create your first project.
Let's get started!
## Sign up for Sequence Builder
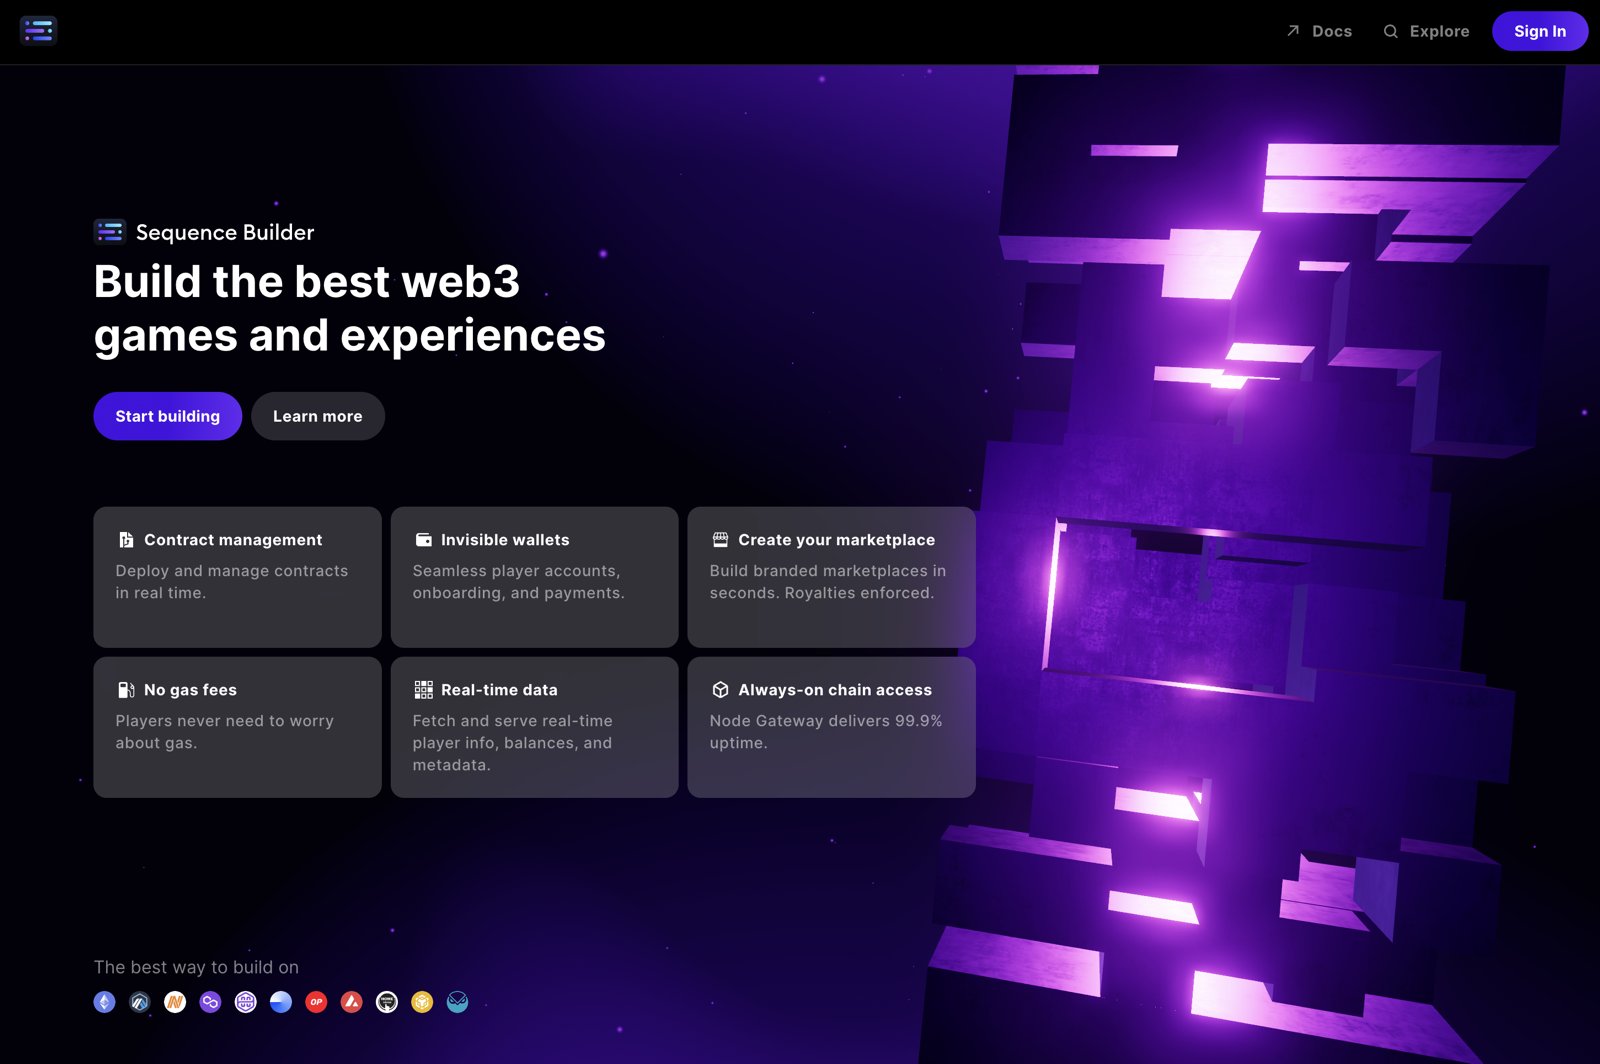
Go to [sequence.build](https://sequence.build/) and click on the `Start Building` or `Sign in` button to get started.
 When you first sign in to Builder, a wallet is created for you.
You may, however, already have a Sequence wallet. If you are signed in with that wallet, you will see an option to use it.
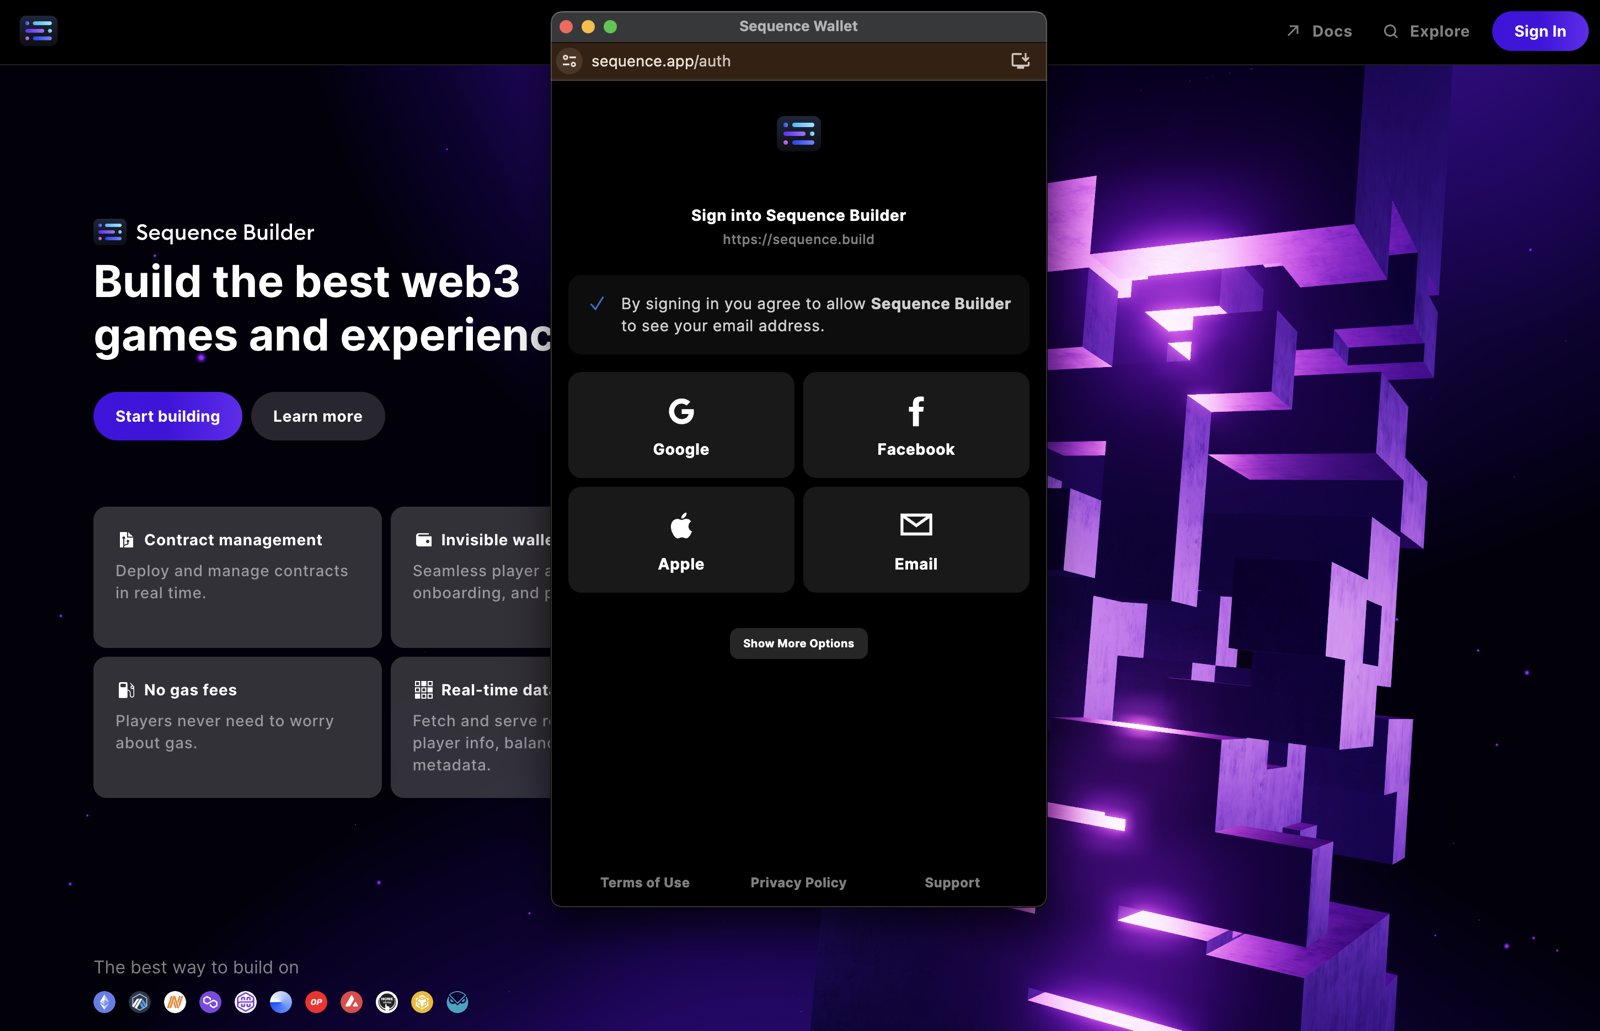
Without a wallet, you will be given a few options to sign in. You can use any of the social sign ins, or you can simply use your email to get started.
When you first sign in to Builder, a wallet is created for you.
You may, however, already have a Sequence wallet. If you are signed in with that wallet, you will see an option to use it.
Without a wallet, you will be given a few options to sign in. You can use any of the social sign ins, or you can simply use your email to get started.
 After choosing how you would like to sign in, you will be presented with the terms of use. To read the `Terms of Use`, `Privacy Policy`, and `Master Services Agreement`, click on the respective links for each.
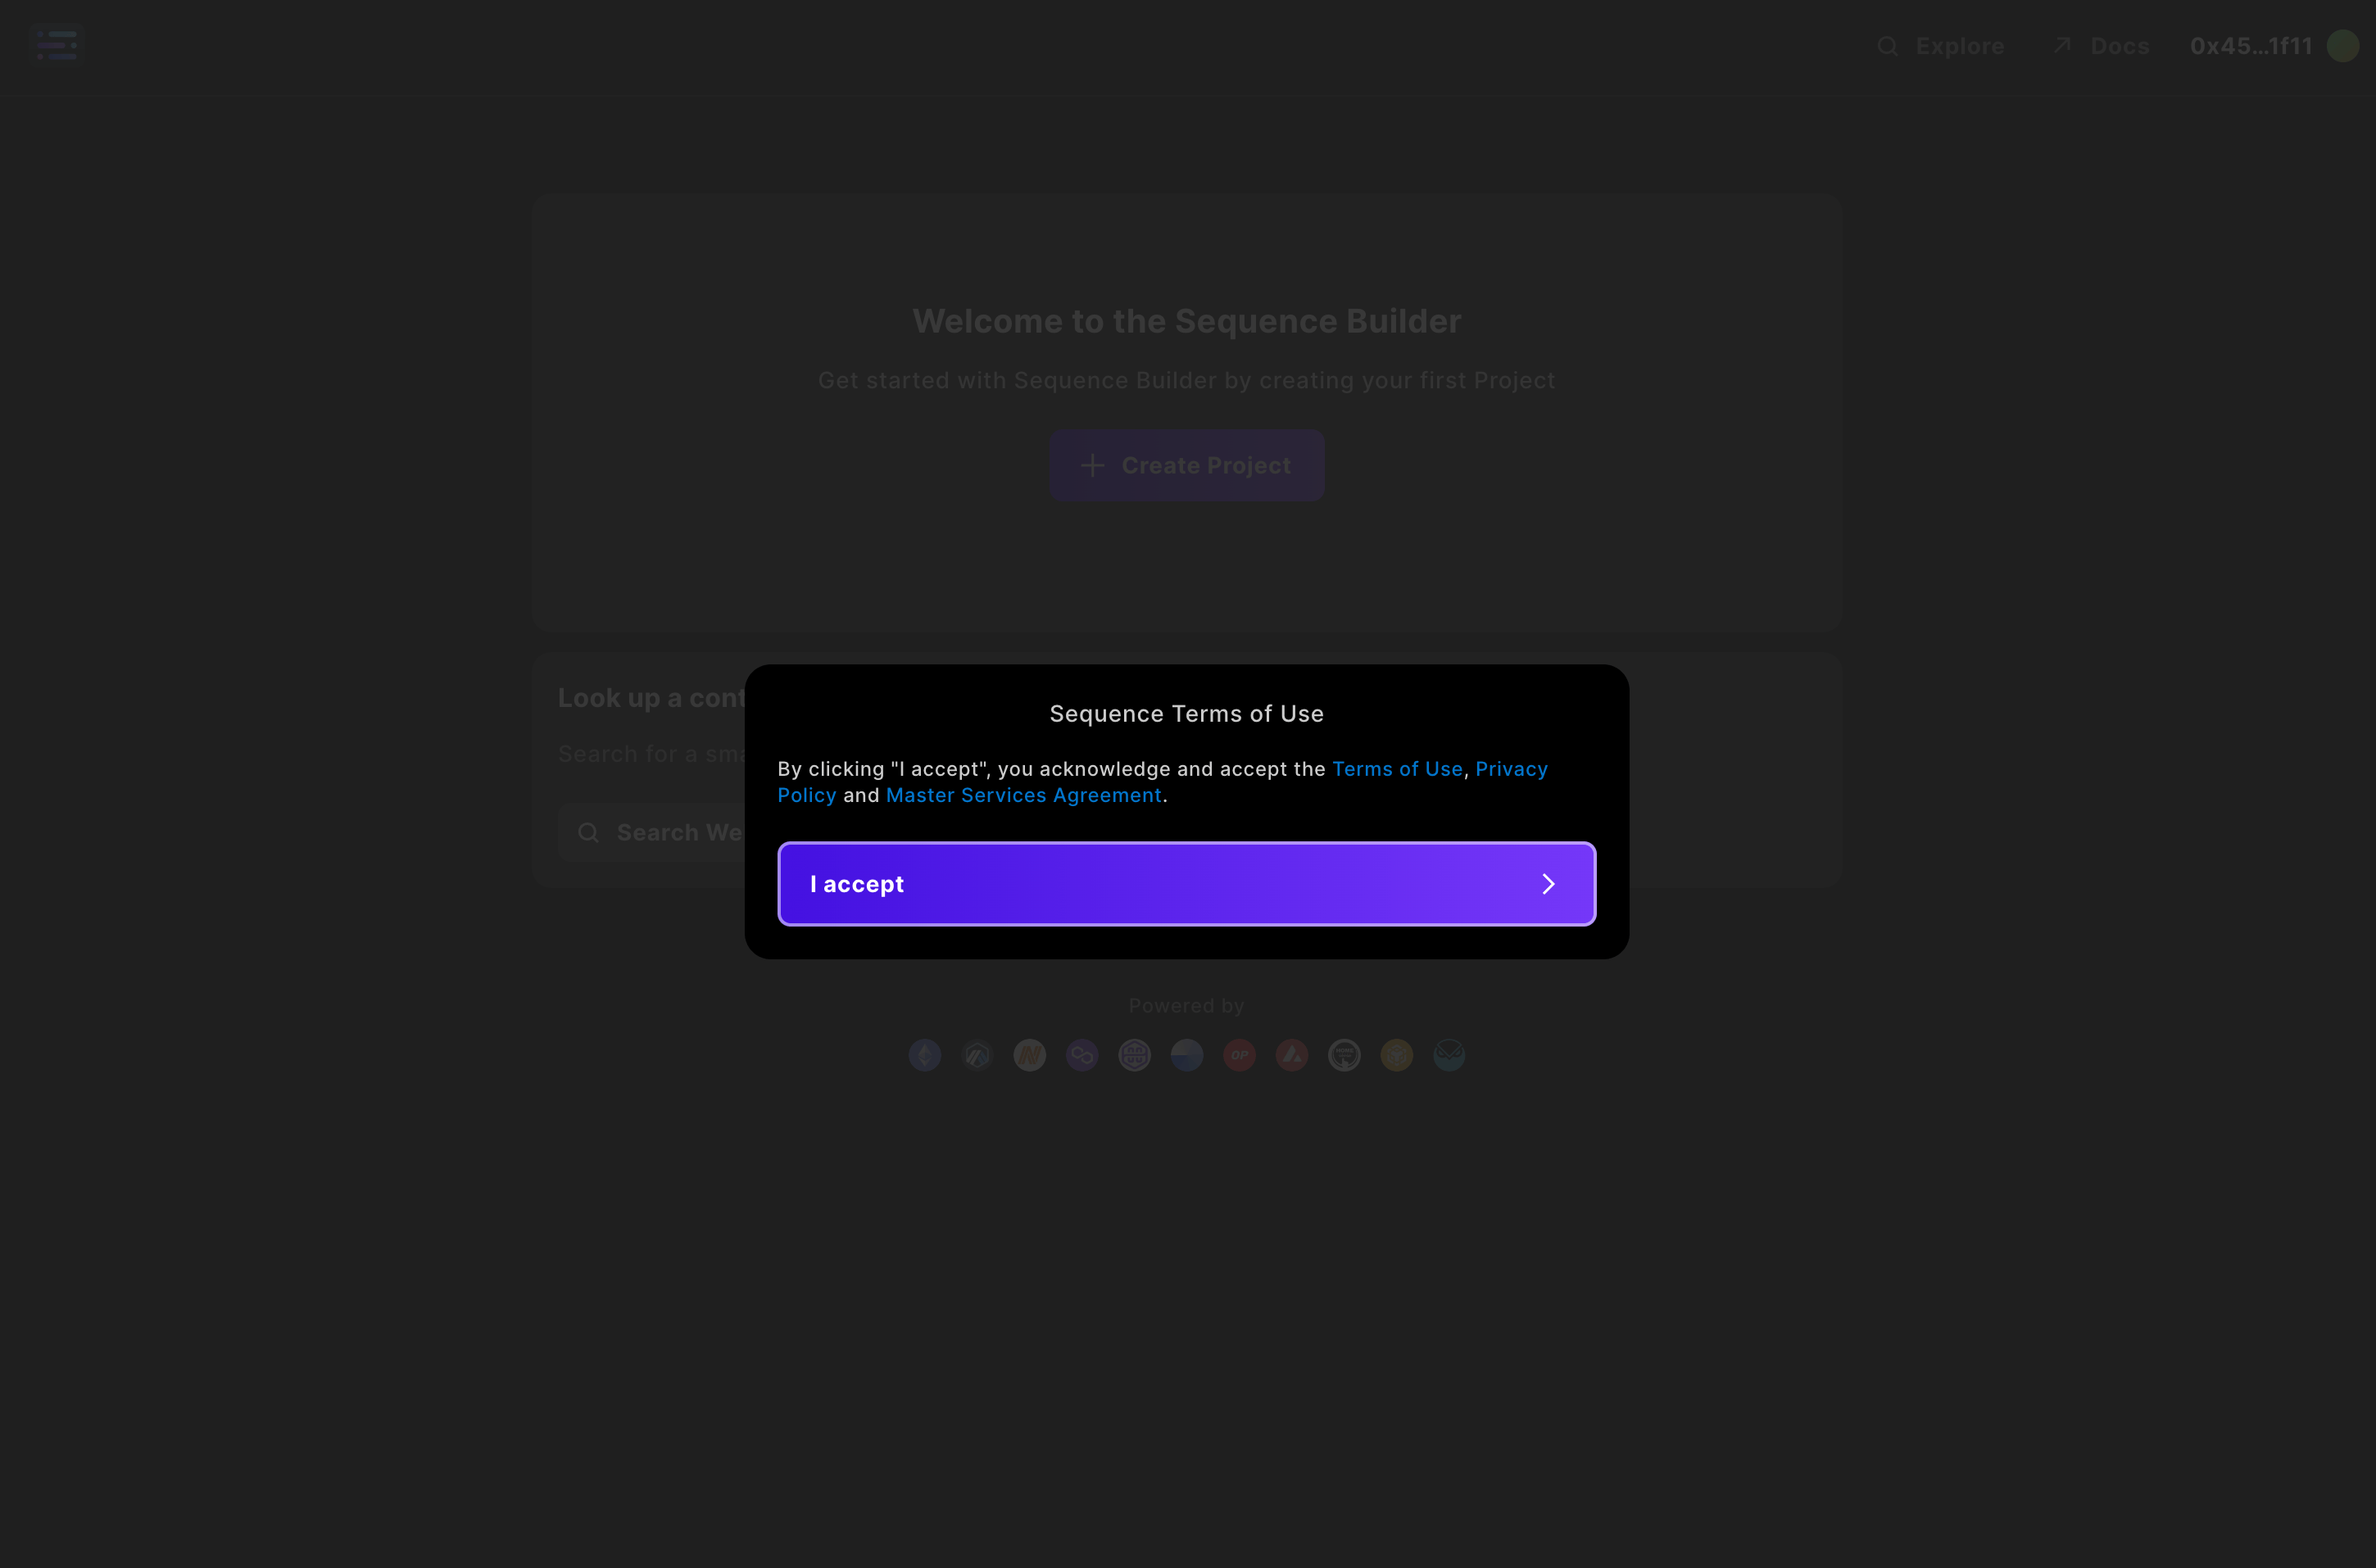 Once you have read each, click through to continue.
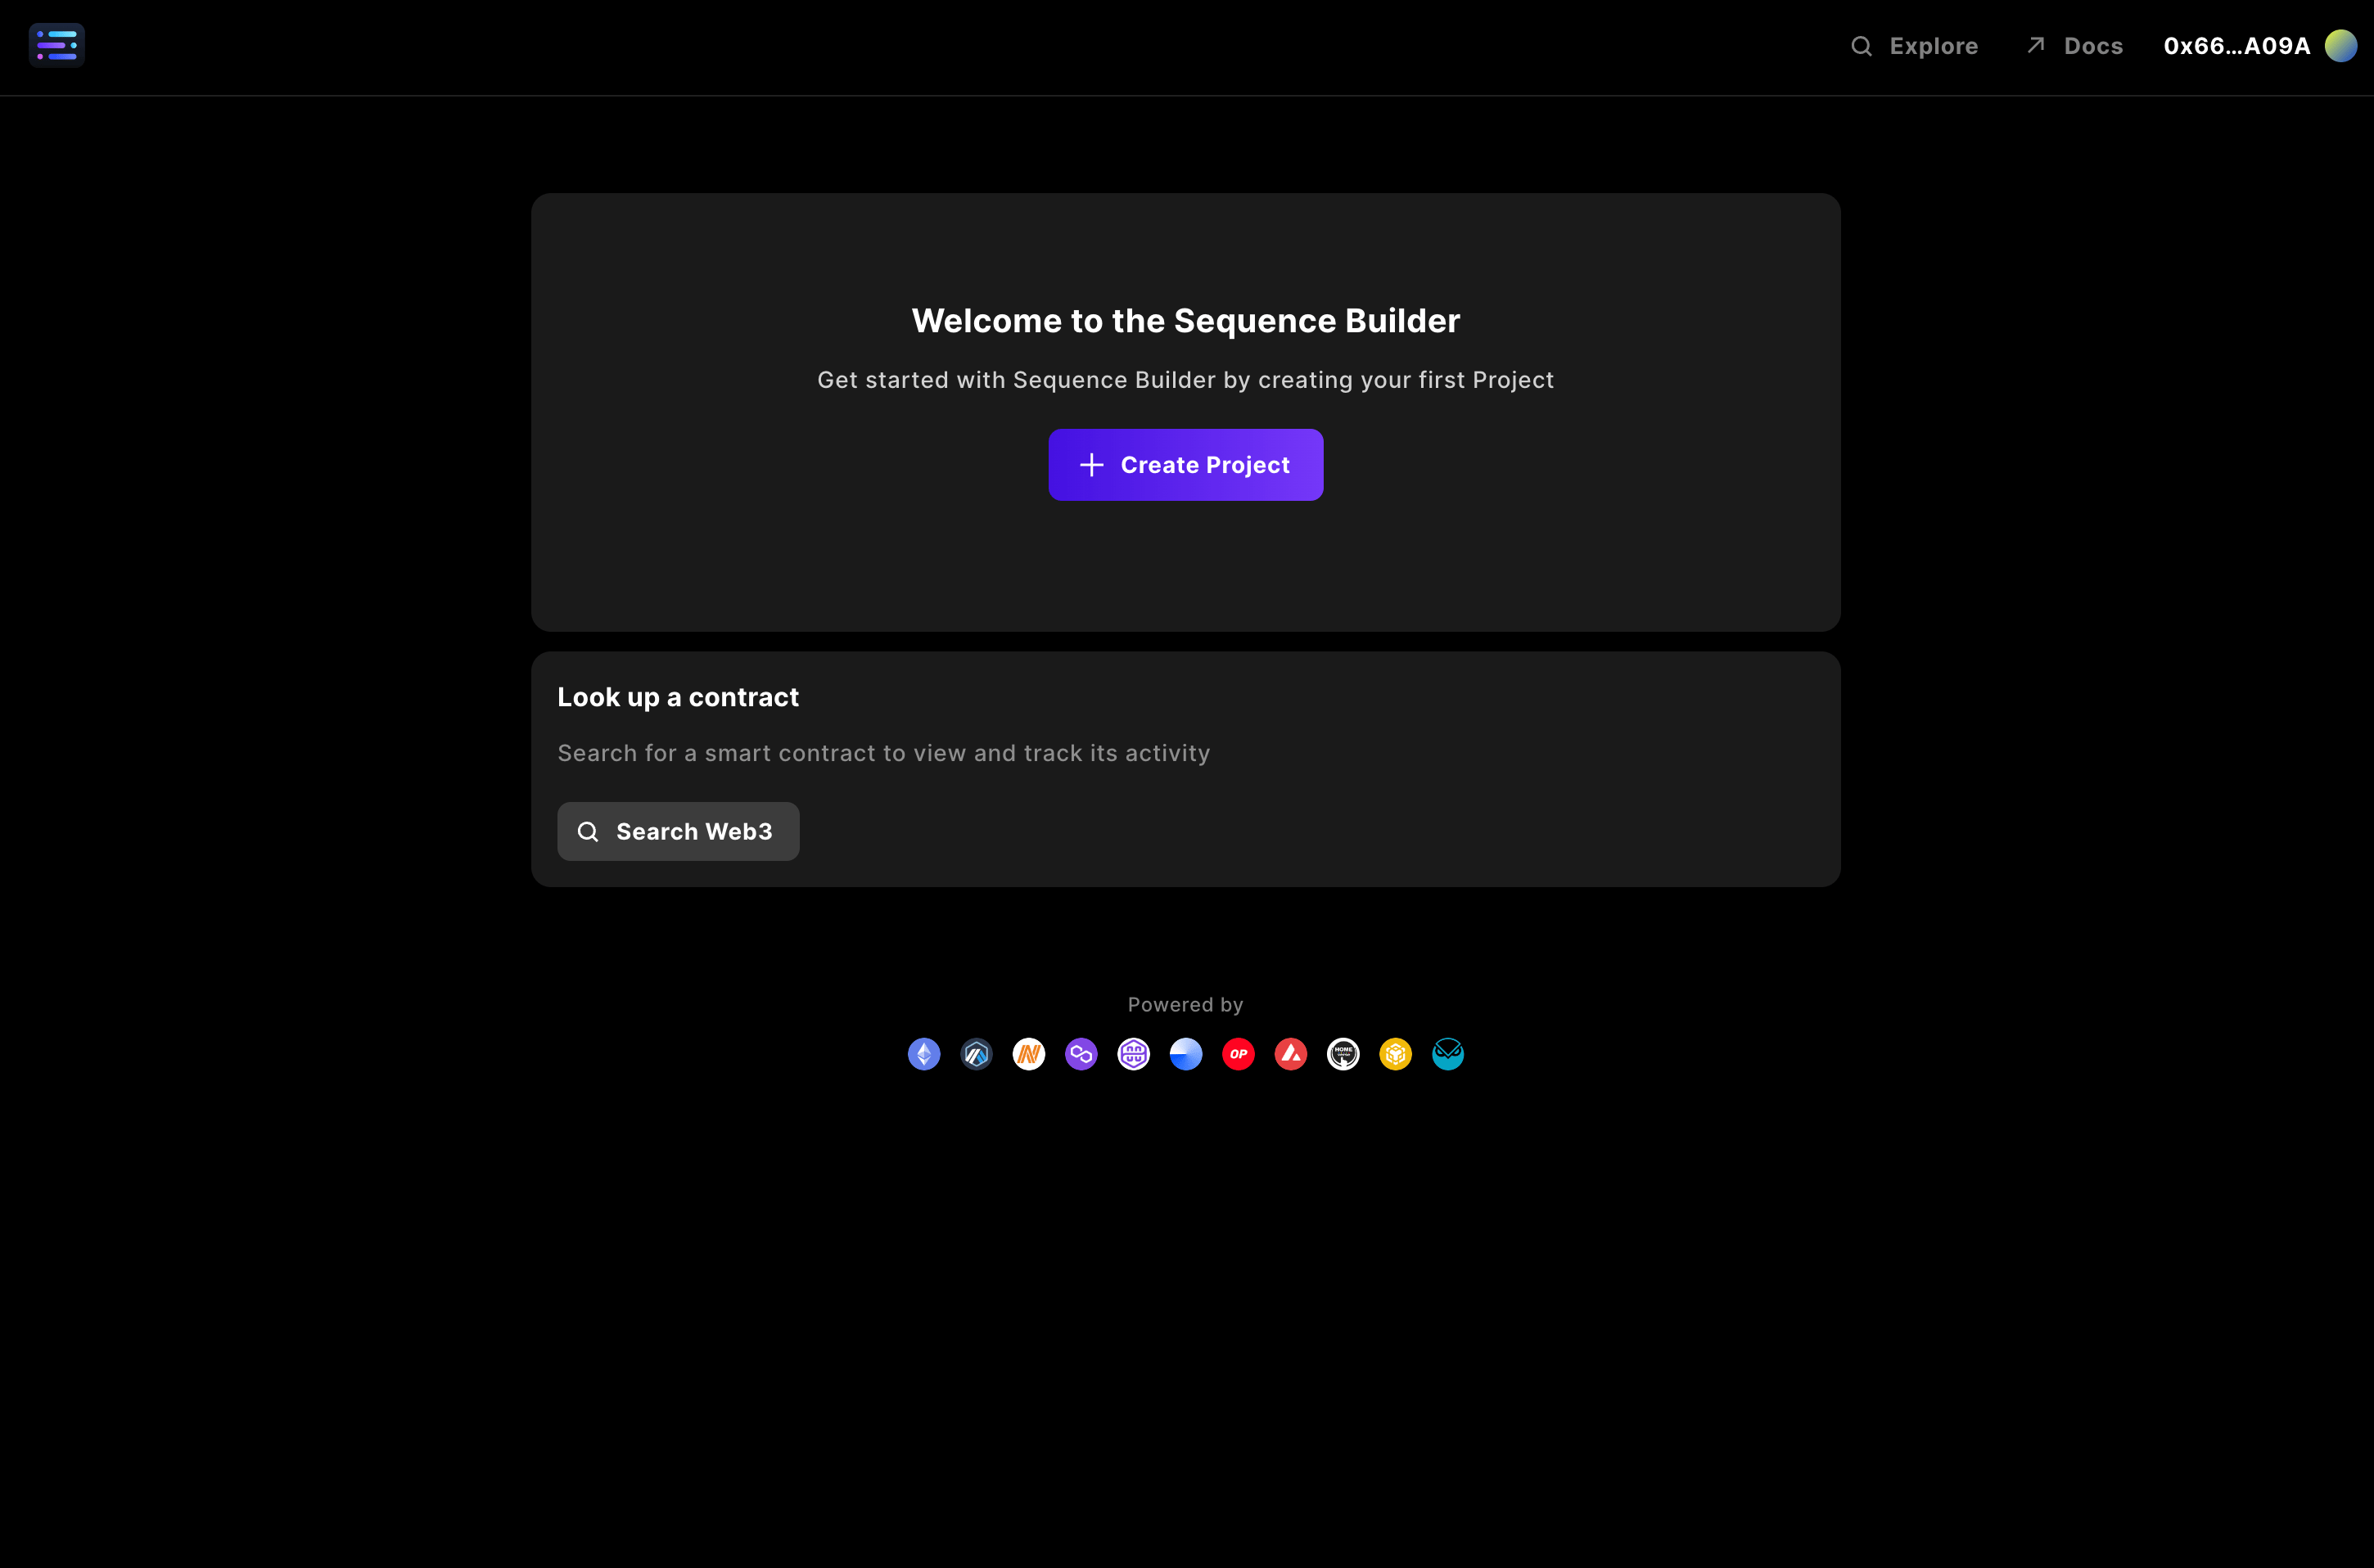
You are now signed in to Builder!
Everything you do in Builder is centered around each project - so let's start one.
The easiest way to start a project is to simply click `+ Create Project`.
Once you have read each, click through to continue.
You are now signed in to Builder!
Everything you do in Builder is centered around each project - so let's start one.
The easiest way to start a project is to simply click `+ Create Project`.
 A modal will pop up, allowing you to enter details about your project. Provide a project name and, if you like, add an avatar for the project.
Then, select the network(s) on which you would like to start deploying. This can always be changed later.
A modal will pop up, allowing you to enter details about your project. Provide a project name and, if you like, add an avatar for the project.
Then, select the network(s) on which you would like to start deploying. This can always be changed later.
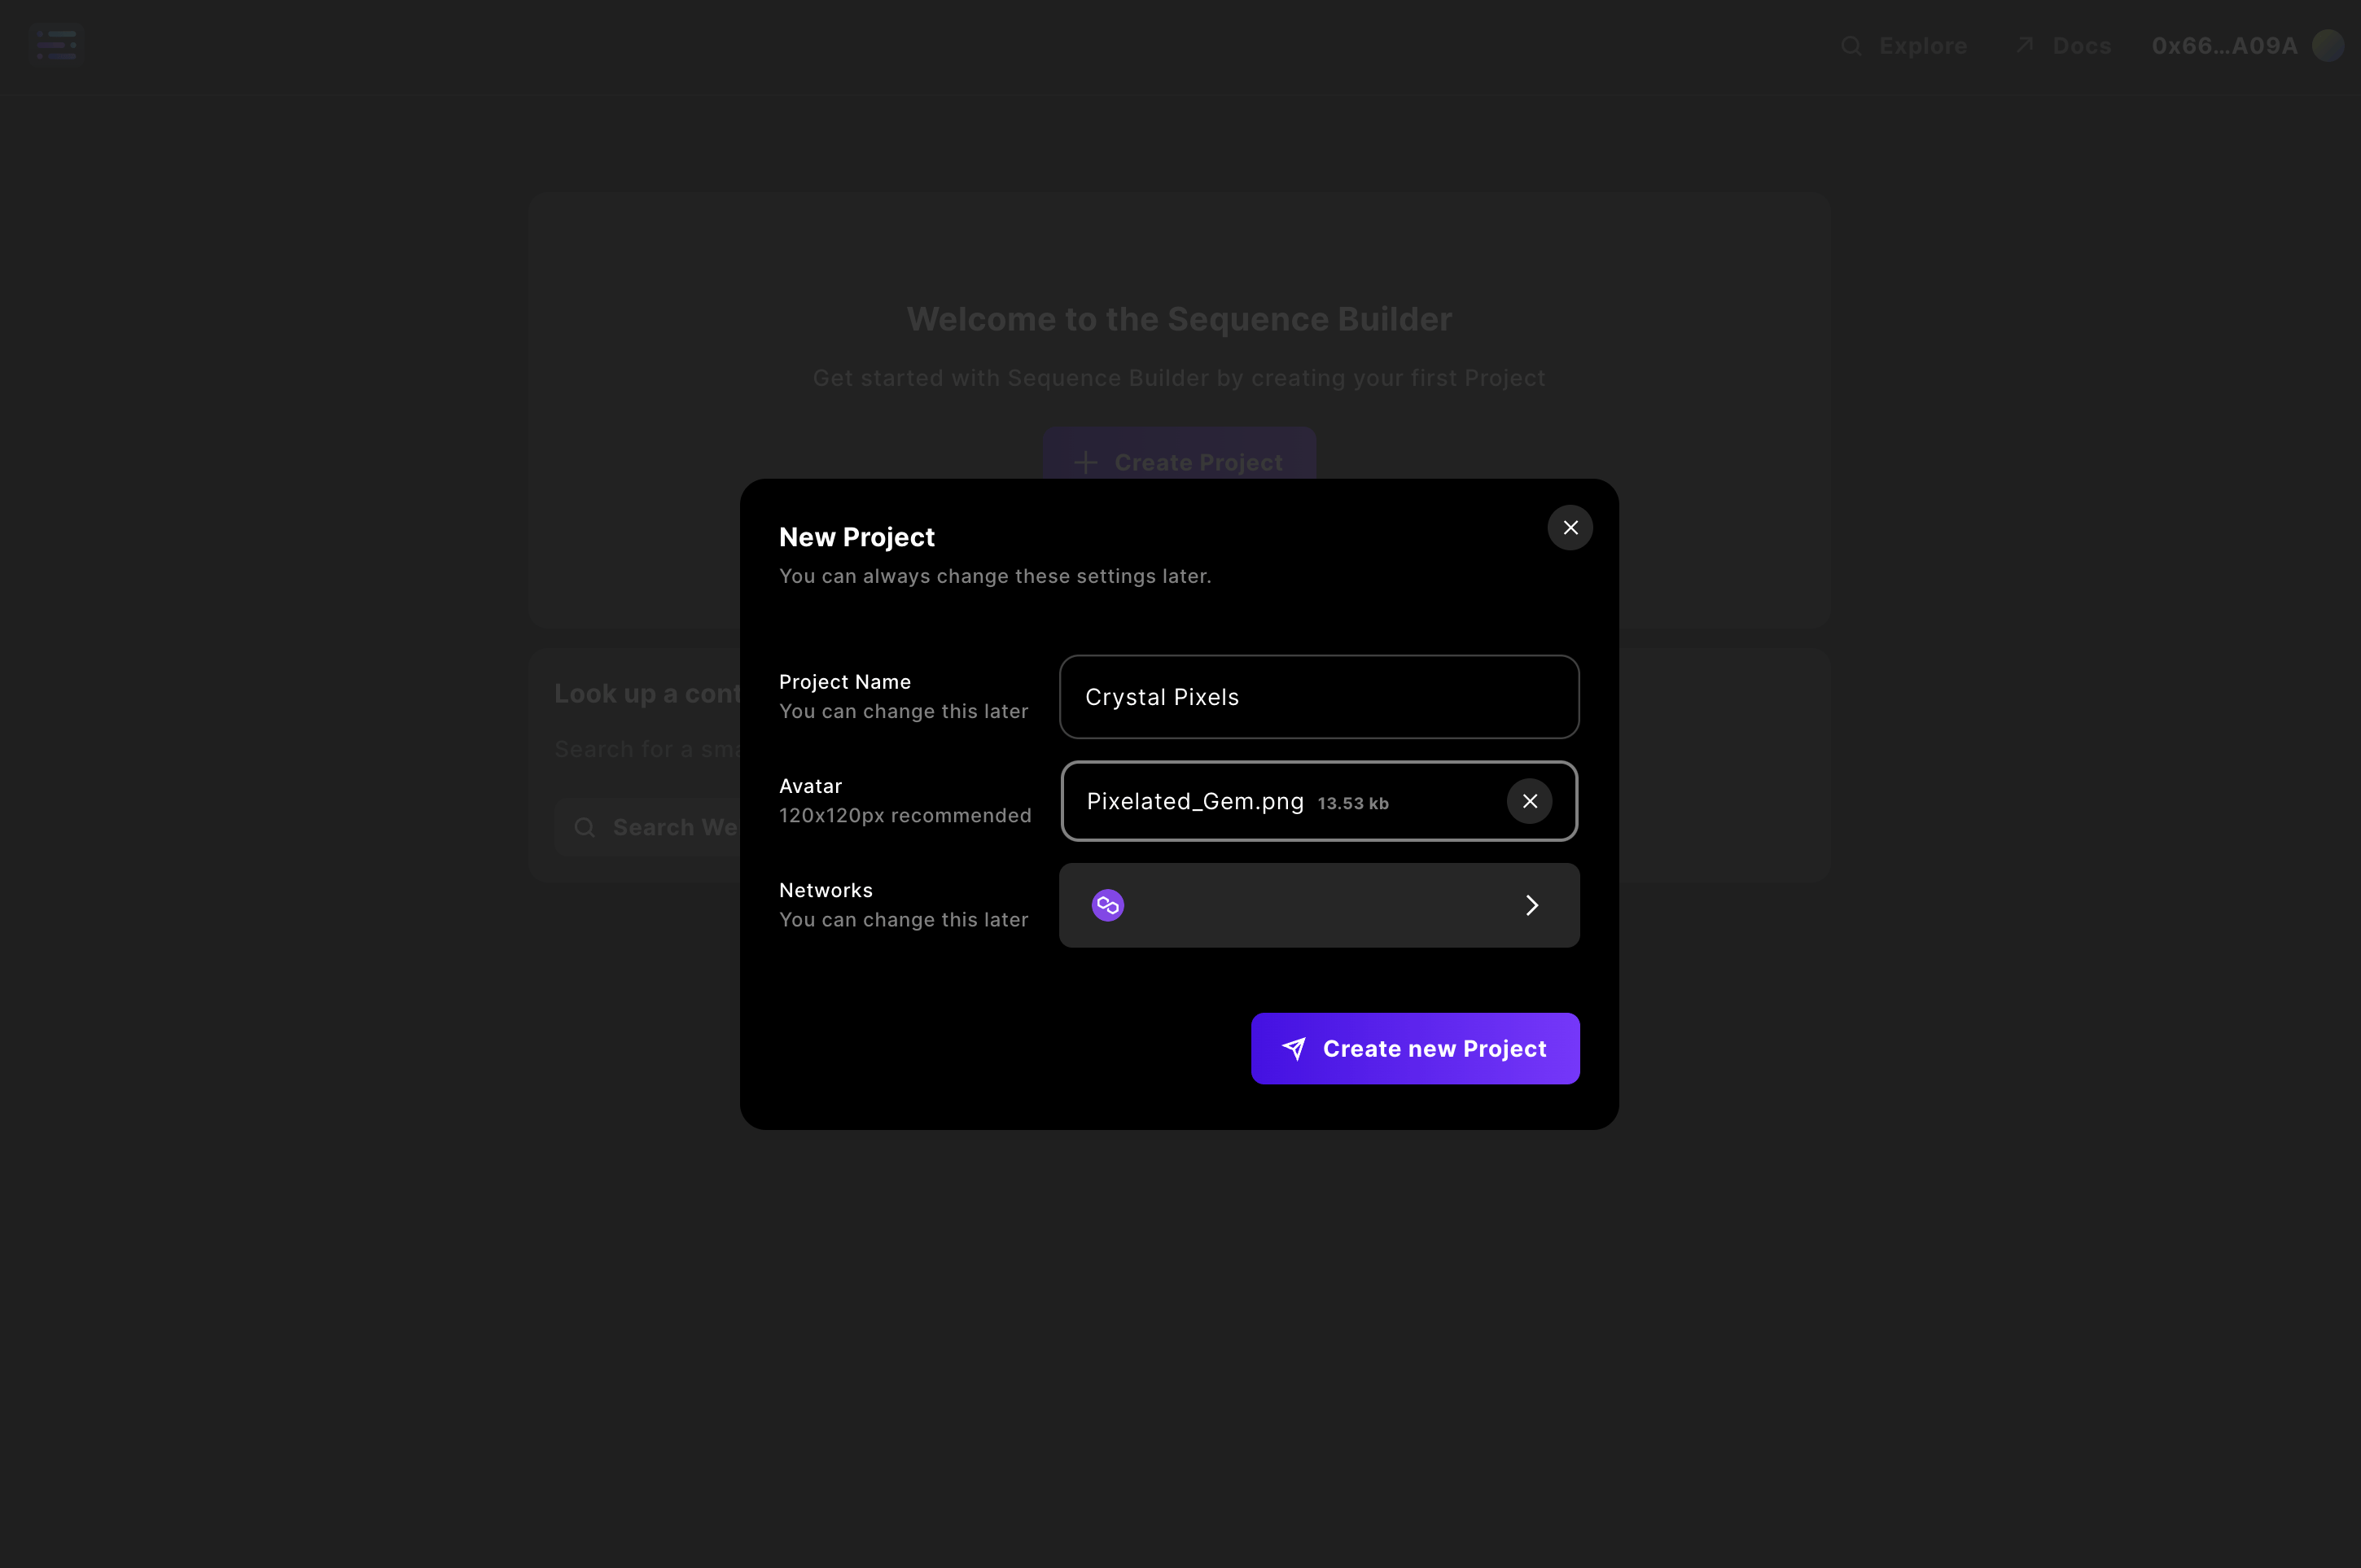 Now hit the `Create new Project` button!
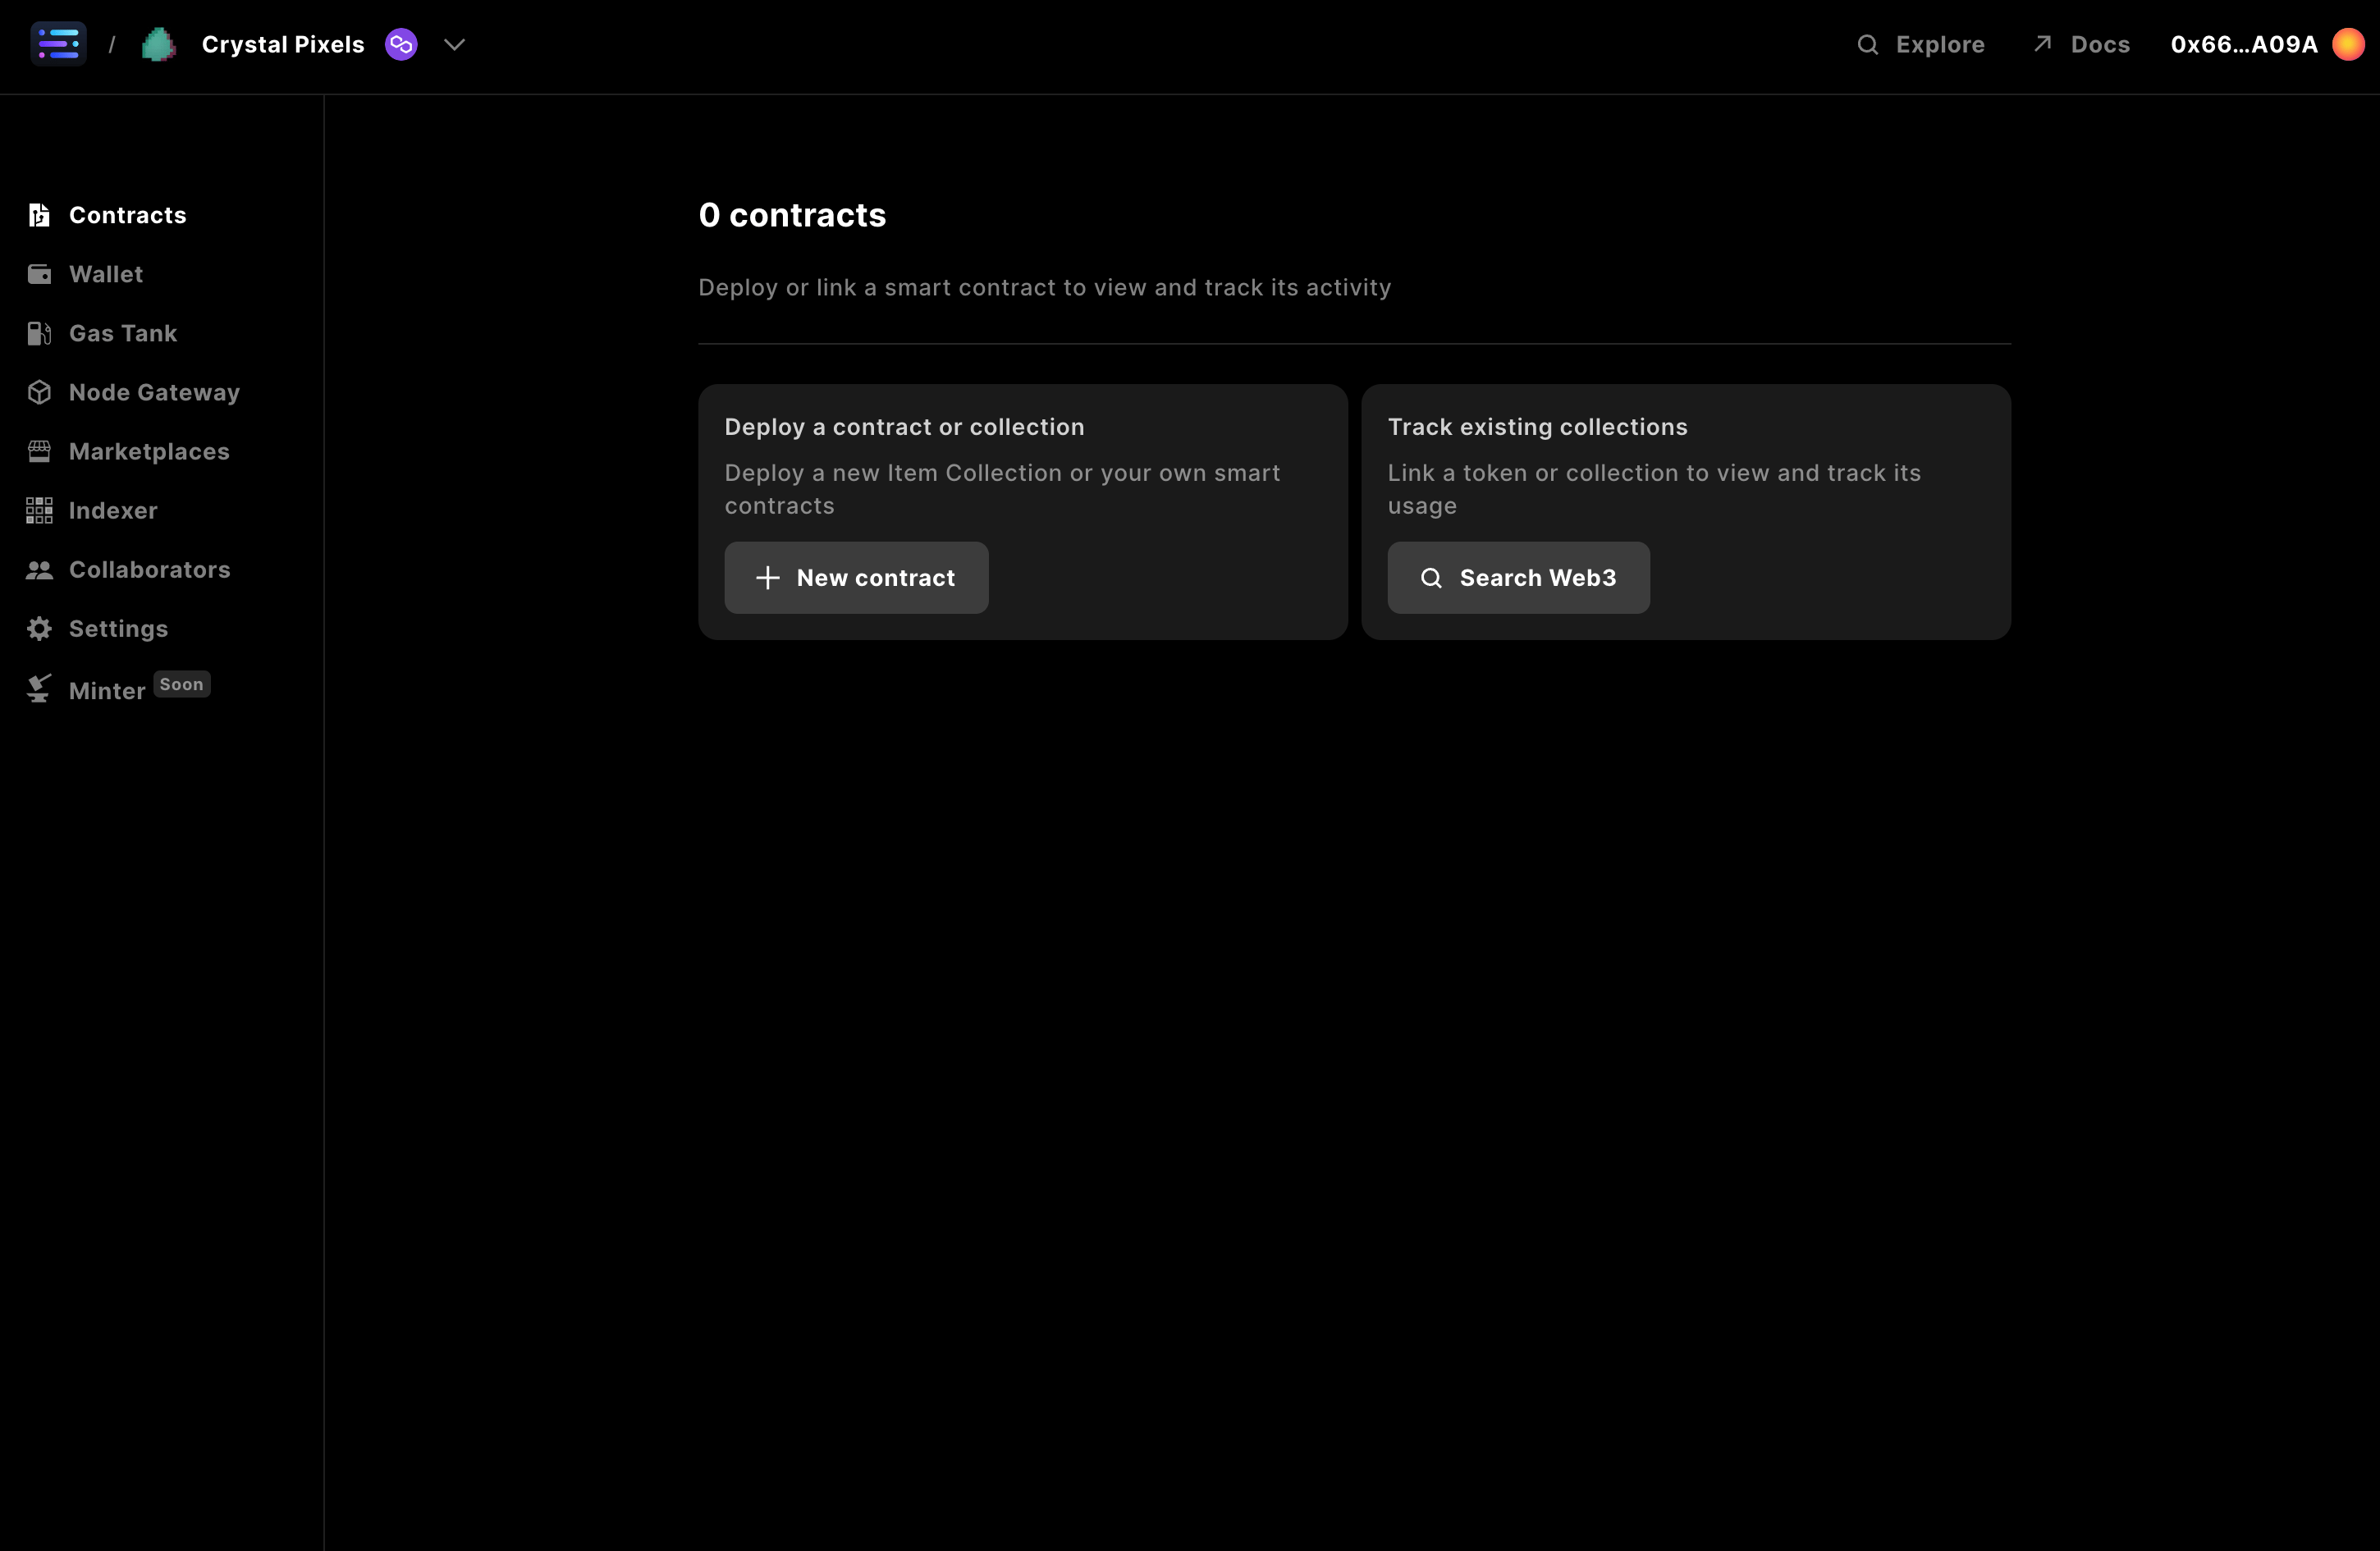 Once you finish, you should now be viewing your project dashboard.
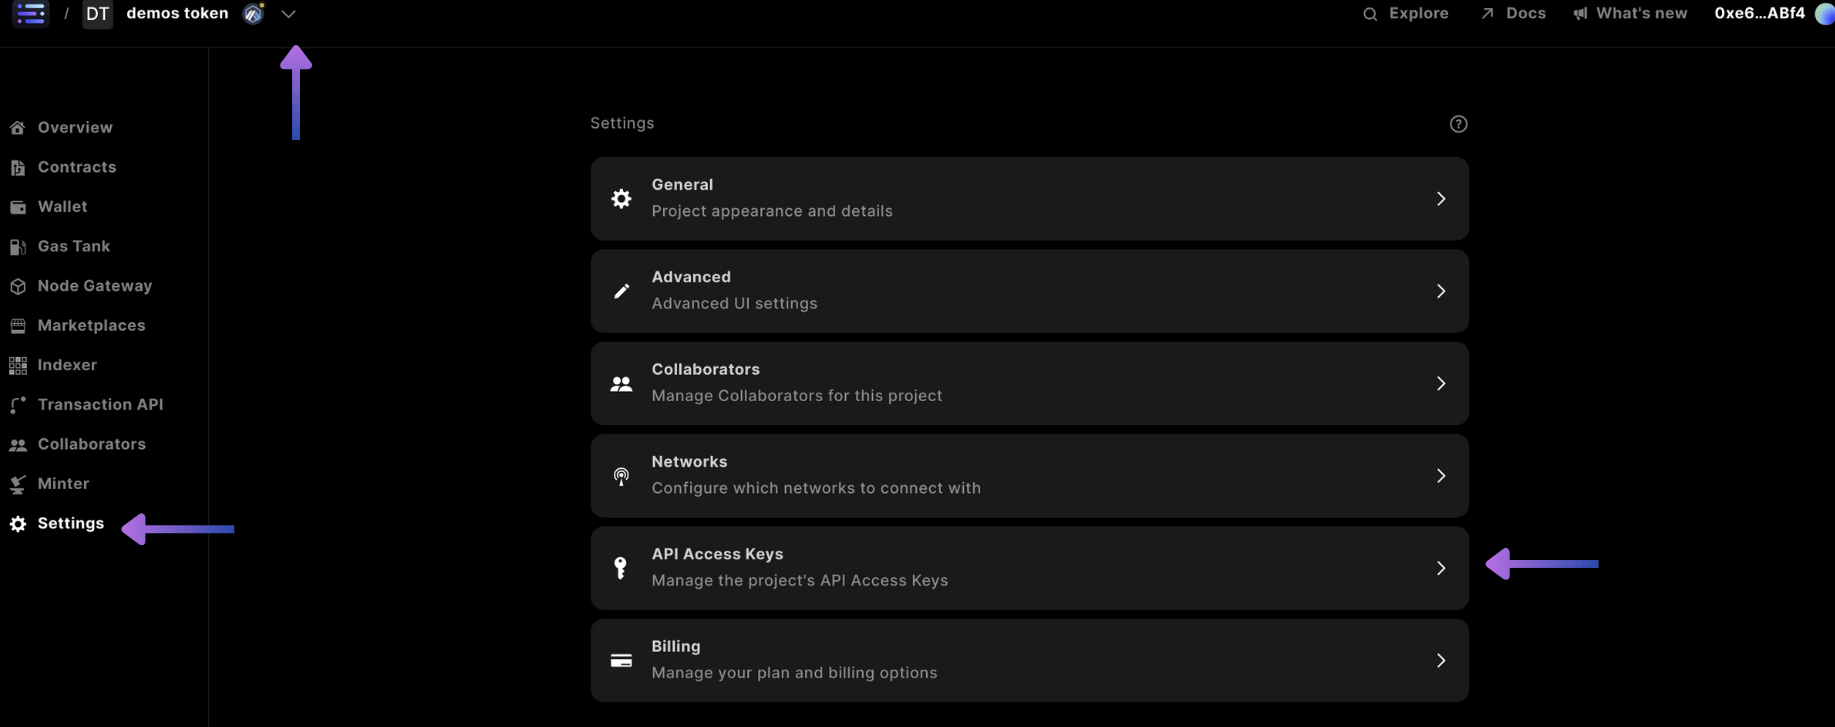
Finally, to start building you'll need to claim an access key from the Builder, which can be accomplished by navigating to your `project` in the top left corner, selecting `Settings` in the side nav, and selecting the `API Access Keys` card
Once you finish, you should now be viewing your project dashboard.
Finally, to start building you'll need to claim an access key from the Builder, which can be accomplished by navigating to your `project` in the top left corner, selecting `Settings` in the side nav, and selecting the `API Access Keys` card
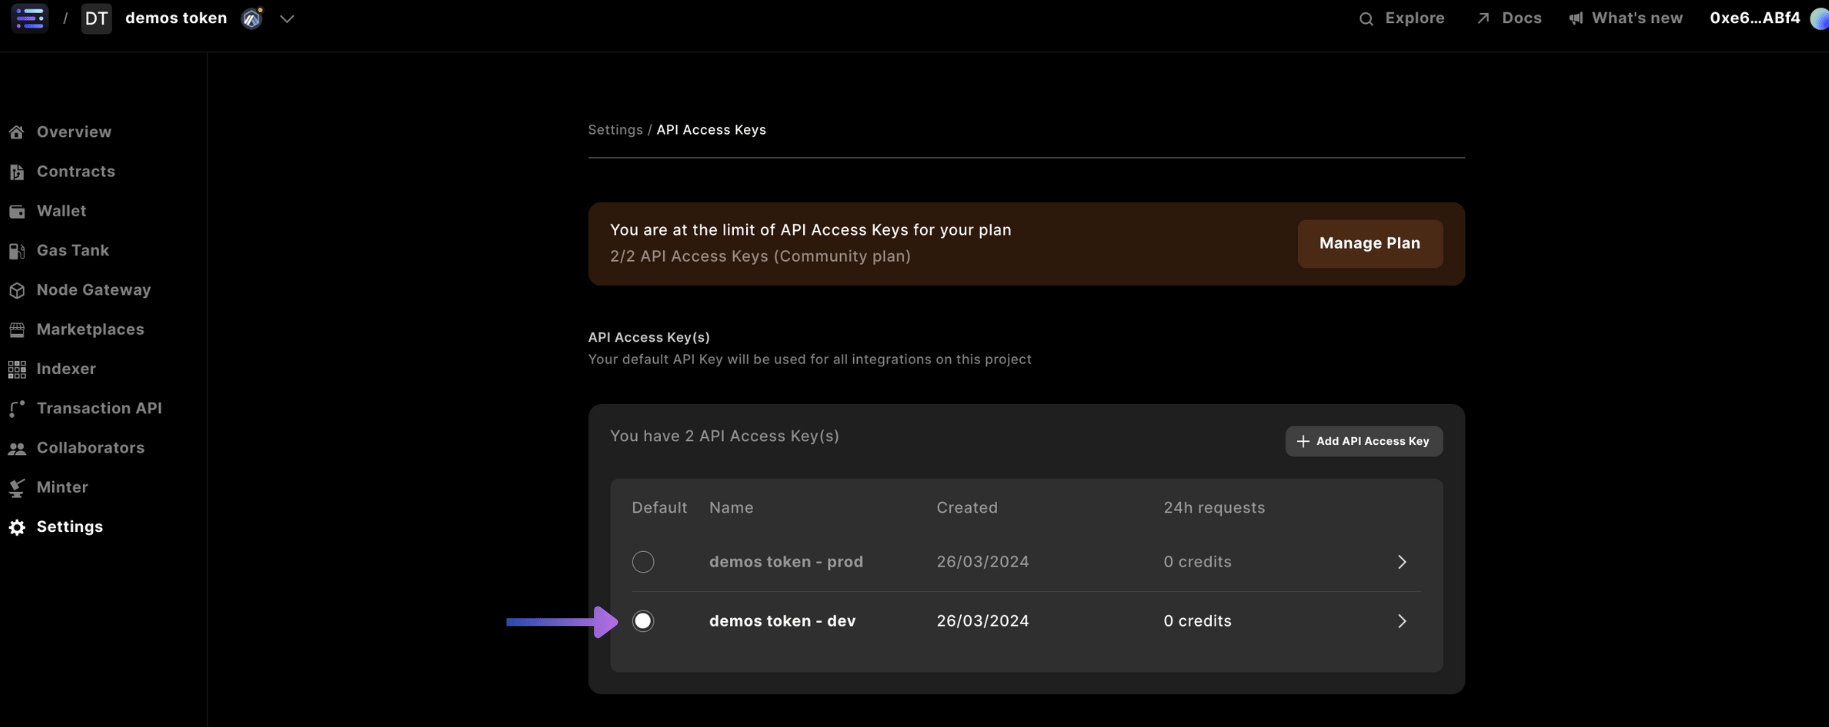
 Within the `settings` of the `API Access Keys` select the `dev` access key, which is typically used for development environments, whereas the `prod` key is used for production environments for applications in front of your users.
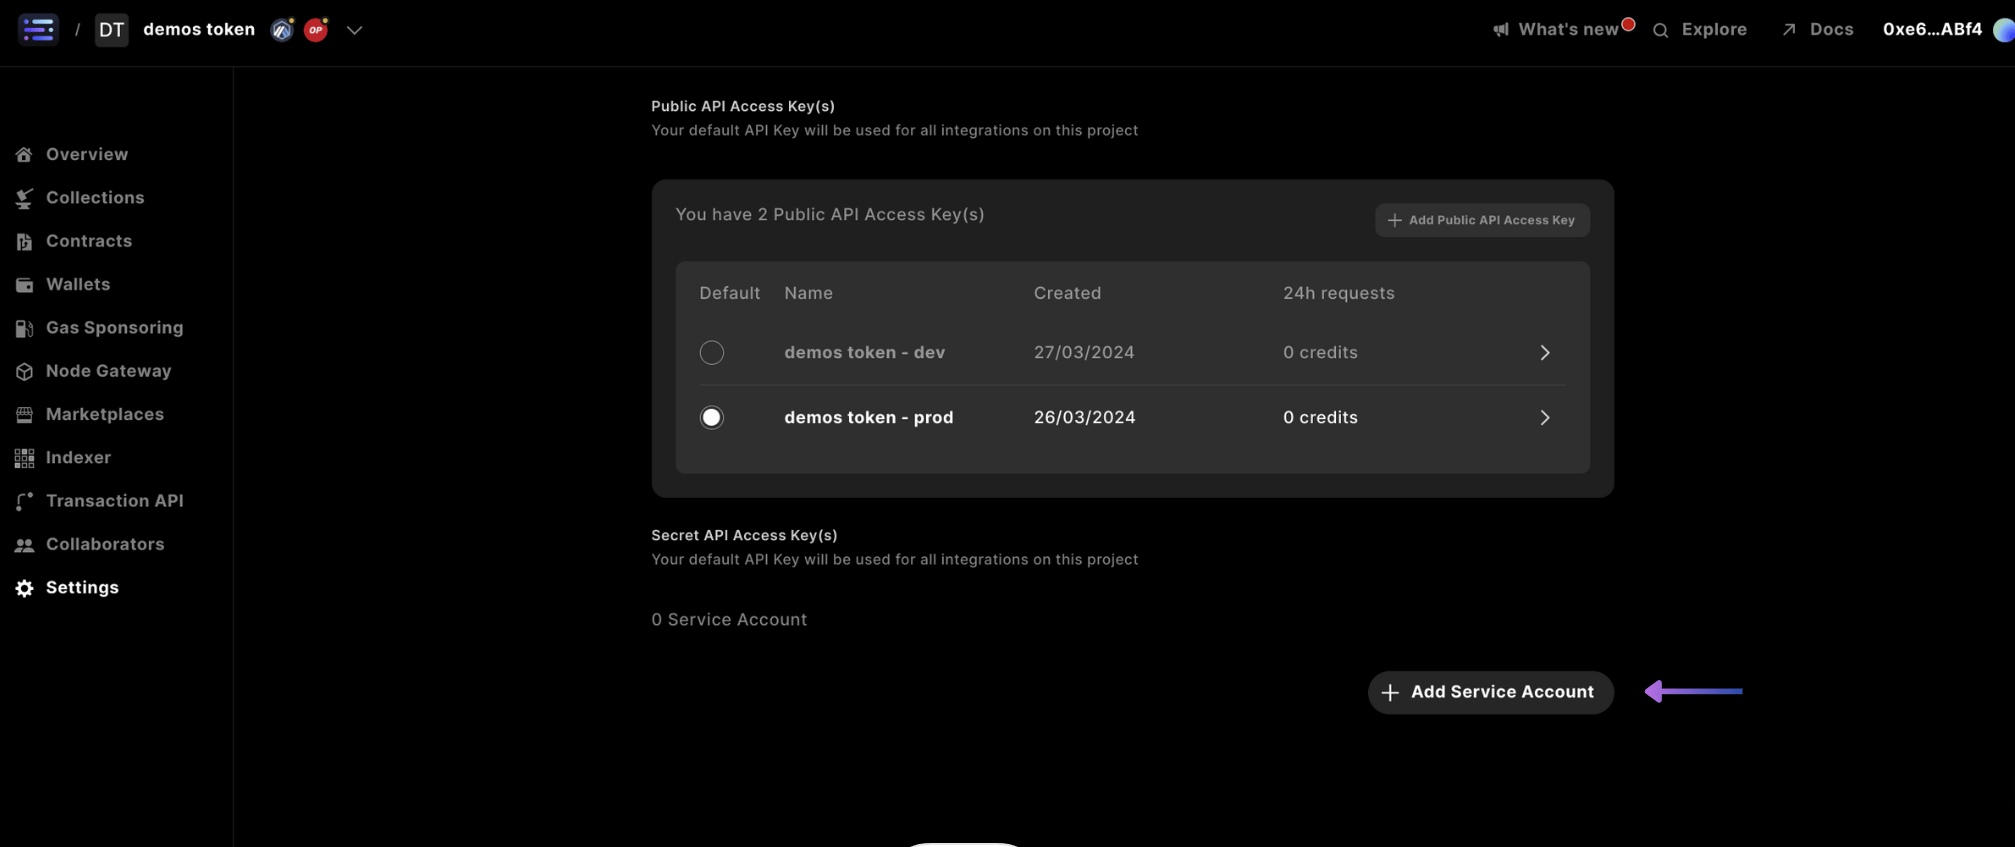
 In order to integrate some services from the Sequence stack, a Service Account has to be created to make updates or read from state - including [Collections API](/guides/metadata-guide) or [Webhooks](/api-references/indexer/examples/webhook-listener) - a `Secret API Key` is required.
One can navigate to the API Access Keys section by selecting the project, accessing the sidebar nav page of `Settings`, and selecting the `API Access Keys` card
And scroll to the bottom, where you will find the `Secret API Access Key(s)` section
Where you would select `+ Add Service Account`
In order to integrate some services from the Sequence stack, a Service Account has to be created to make updates or read from state - including [Collections API](/guides/metadata-guide) or [Webhooks](/api-references/indexer/examples/webhook-listener) - a `Secret API Key` is required.
One can navigate to the API Access Keys section by selecting the project, accessing the sidebar nav page of `Settings`, and selecting the `API Access Keys` card
And scroll to the bottom, where you will find the `Secret API Access Key(s)` section
Where you would select `+ Add Service Account`
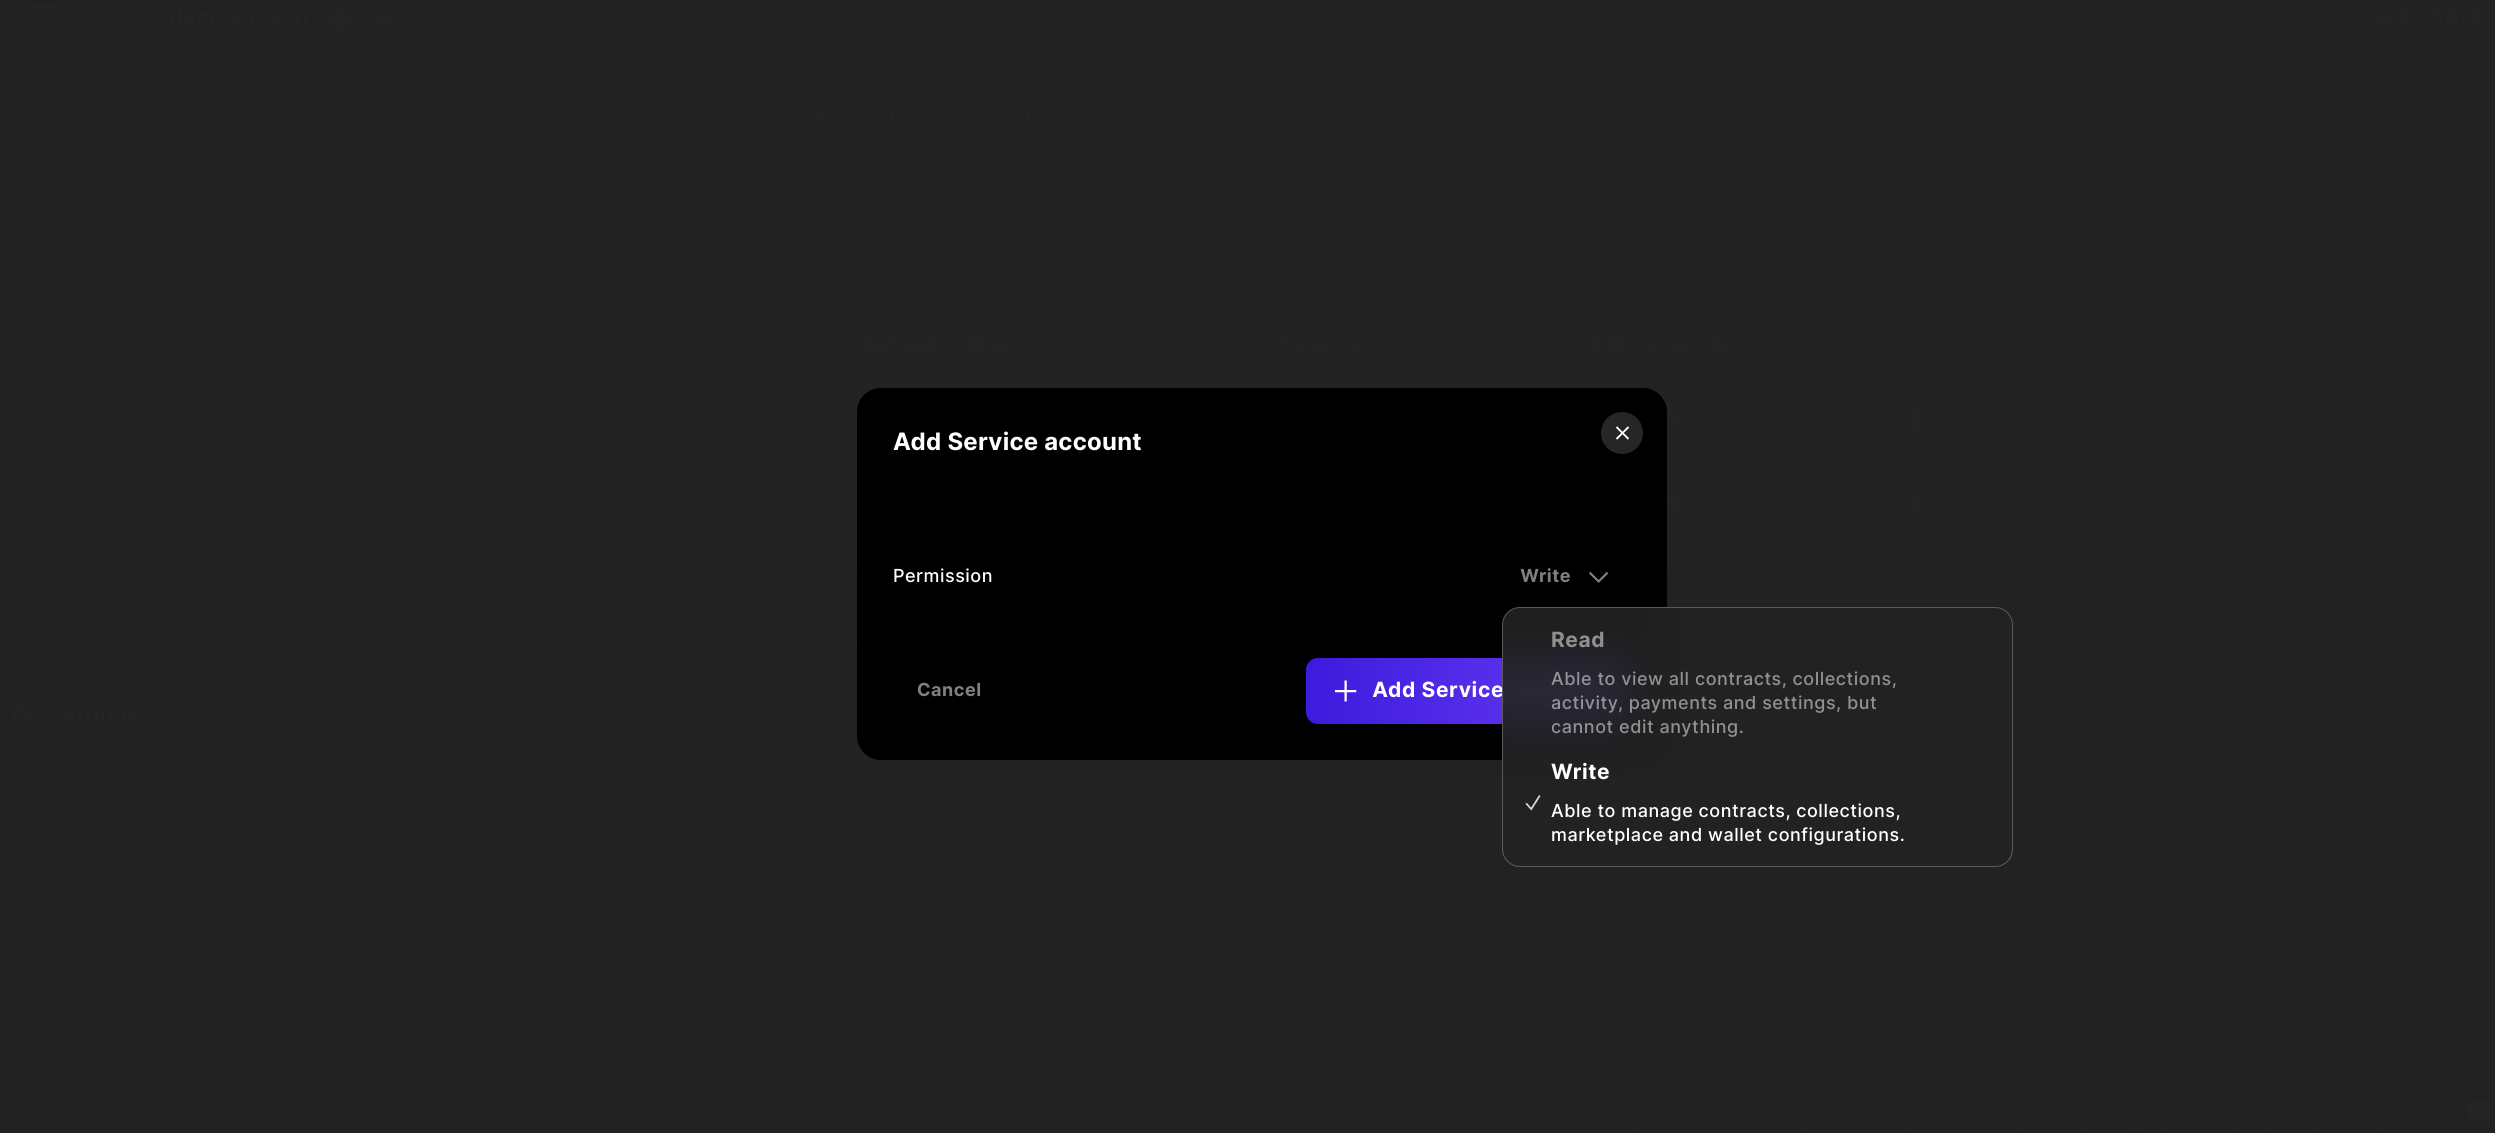
 And either create a `Read` key, or, a `Write` secret API access key.
For making updates to the Sequence system, select `Write` and `+ Add Service Account` to include in your integration.
And either create a `Read` key, or, a `Write` secret API access key.
For making updates to the Sequence system, select `Write` and `+ Add Service Account` to include in your integration.
 Copy the JWT token and save it somewhere safe, or, in your project
Warning: You won't have access to the generated `Secret API Access Key` in the future from the Builder interface, make sure to save it somewhere safe.
## Build things!
Now that you have created a project and claimed an API Access key, there is so much you can do from here.
If you feel like it, begin with one of these examples:
Use the Industry's fastest Indexer to query a wallet balance
Use the ERC1155 standard and Sequence Builder to deploy a collectible
Provide trading market functionality to your users in a custom marketplace
Copy the JWT token and save it somewhere safe, or, in your project
Warning: You won't have access to the generated `Secret API Access Key` in the future from the Builder interface, make sure to save it somewhere safe.
## Build things!
Now that you have created a project and claimed an API Access key, there is so much you can do from here.
If you feel like it, begin with one of these examples:
Use the Industry's fastest Indexer to query a wallet balance
Use the ERC1155 standard and Sequence Builder to deploy a collectible
Provide trading market functionality to your users in a custom marketplace